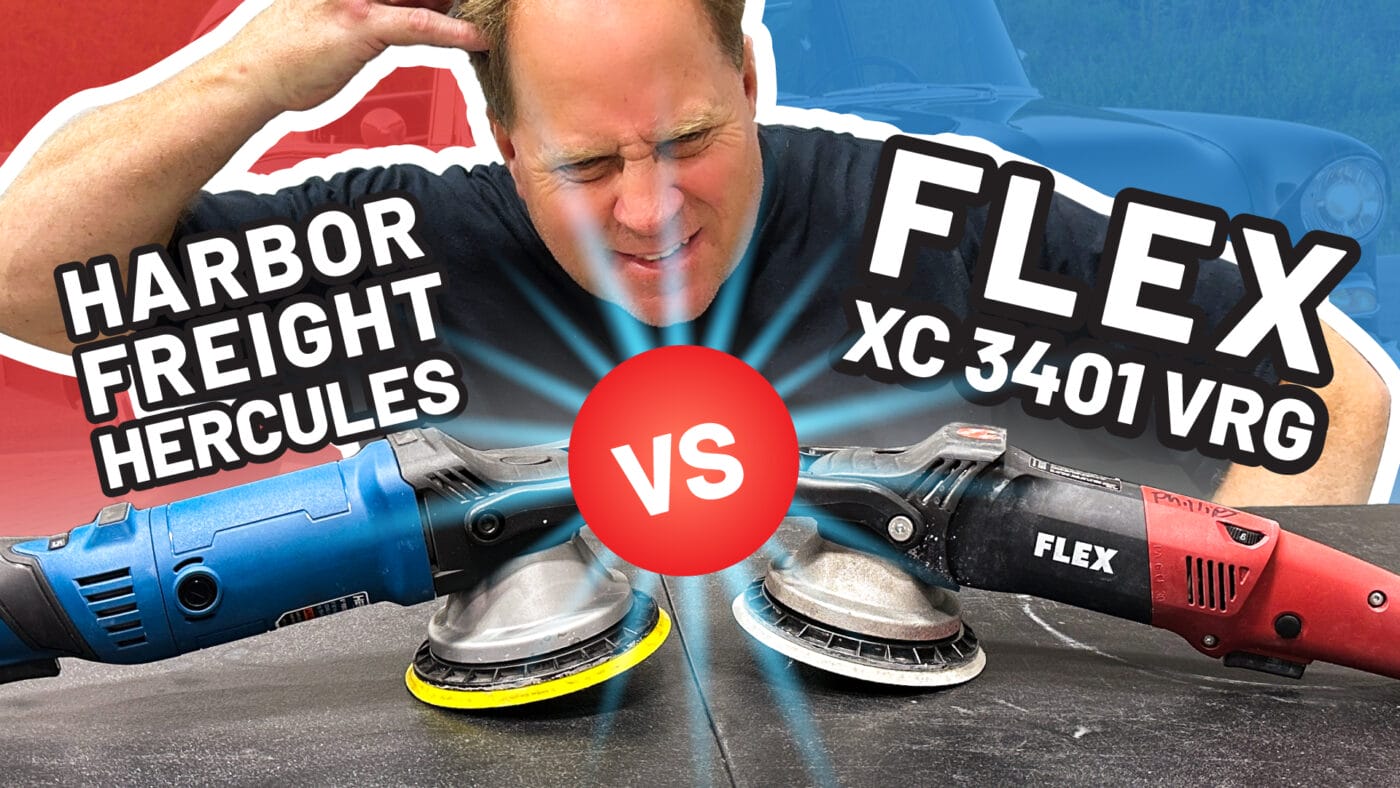
Harbor Freight recently came out with a forced rotation polisher that’s almost an exact copy of the Flex XC 3401 VRG. The only thing they didn’t copy? The price!
The Harbor Freight Hercules Forced Rotation Polisher retails for around $100, while the Flex gear-driven polisher runs at about $400. So how do they stack up against each other? Which should you buy? Find out in these clips from a recent livestream detailing class! Edited transcript included below.
NOTE: The following is a transcript of the above livestream recording. It has been edited for clarity.
What we’re talking about here in case you didn’t see the headlines: this is is the Flex XC 3401 VRG. It is an eight millimeter gear driven orbital polisher. Harbor Freight knocked it off with their Hercules Forced Rotation Orbital Polisher. It’s not identical, but they did copy the handle and the housing.
The difference is about a $300 price point. But the other difference is, of course, you get what you pay for in this world. If you have not learned that lesson in life, then someday you will. The Flex 3401 is the Mercedes-Benz of polishers. The Harbor Freight, I’ve used it on one car. It’s held up fine so far. My guess is the Harbor Freight will never hold up as long as the Flex 3401 if you were to put them in the same shop, the same type of torture that we detailers put these through.
If you’re a weekend detailer, however, you’re probably going to buff out your car maybe once or twice a year. You’re not going to wear it out like a pro would in a production shop. In that case, a $100 tool like this Harbor Freight might make more sense for you than a $400 Flex 3401. So that’s kind of the difference on the price point and the quality build.
Now when I say gear driven, I want to show you what I mean by the “gear”. When you look inside behind the backing plate on the Flex 3401, you see a gear set. That’s the outer gear, ring gear. And then here’s the gear set on the backing plate. The Harbor Freight is the same way. So you got pretty much the same copy of it.
This is why people call these polishers “forced rotation” or “gear driven” — because of the gears. There’s no slippage. There’s no free-spinning spindle with a counterweight like you have with a random orbital polisher.
While we’re looking at the gears inside these polishers, I just wanted to share something with you. When you buy either one of these tools brand new, I recommend putting a few drops of oil onto the felt ring around the gears, and I’ll show you why.
Now if you’re a weekend warrior using this tool you know two or three times a year, you should be doing this probably once a year. If you’re a production detailer, I’d say oil the felt ring once a month. It doesn’t hurt, plus it’s a good idea to always check and make sure that bolt is tight. They can work themselves loose.
Now, for the record, Flex states that you don’t have to do this to the 3401. But here’s what happens if you don’t do it:
If you start pushing down on the polisher hard, this hard plastic will rub against this aluminum housing. And if you’ve used the Flex for years like me, you’ve seen this: You’re buffing, and you see these little black shards flying out onto the paint. That’s this peeling up because it’s abrading, and it’s not slipping against that aluminum. So put the oil on there once in a while. Here’s how to lubricate this wear part:
- Remove the backing plate from the polisher.
- Using a thumb tack, lift the felt ring lining the gear. DO NOT stretch the felt ring — it will be hard to put back in.
- Flip the felt ring and re-insert.
- Apply a light lubricating oil to the felt ring.
- Re-attach the backing plate.
This process can be used for both the Flex and the Harbor Freight — they both use the same felt ring.
One important thing to remember: One of the things I noticed is that the Harbor Freight washer bolt system is subpar. It’s just an undersized washer. It’s got a cheesy little lock washer on there and a cheesy little bolt here.
In terms of exterior design, both polishers have a forward bell handle and a recessed lock button. One major difference? The Harbor Freight actually has what’s called a tool rest — a piece of soft rubber on the back of the polisher. That’s so if you want to set it down on something, it won’t just slide off. The Flex actually doesn’t have that. They got this hard plastic case here. I would never set this upside down on the hood of a car.
They both have soft start triggers. I think they’re both 8 amp, so they have plenty of power. Both have a variable speed dial. The Harbor Freight dial is placed on the top, goes from speed 1 to speed 6. The Flex dial is on the side. Both polishers have trigger locks so you can lock your button in place, so you don’t have to hold it the whole time you’re buffing.
With regards to the rubber handle, Harbor Freight actually did a good job. The Hercules Forced Rotation Polisher has an ergonomic, very grippy rubber handle here with ribs in there, so it’s easy to grip. It has a 25-foot cord, the Flex has 13-foot cable. It has ports to change the brushes. Flex actually doesn’t have that. You have to disassemble the body to get in there.
But for the most part, identical tools. You’re not going to tell the difference between one or the other.
I have detailed, this has got a custom base coat, clear coat paint job. I would put, you know, when we talk about paint being soft, hard, or somewhere in between those two extremes, I would put this on the soft side of medium. I don’t know if I’d call it medium. It’s definitely not hard. It’s definitely not soft. I mean, soft paint to me is paint that you have to be careful just wiping it with the towel because the towel could scratch it. That is a pain to work on. That is soft paint. But this is just on the soft side of medium.
Can you capture these swirls in here? Oh, yeah. OK, then I’ve taken a crayon, and I’ve actually marked out some deep. There’s some deep scratches running this way. There’s some running this way. There’s some running this way. And I pointed those out for myself to make sure I pull those out when I finish this car out.
Excuse me, but also a lot of times when you’re using an orbital polisher, any brand, gear driven, free spinning, it’s not going to pull out what are called RIDs, random isolated deeper scratches. And what will happen is we’re going to buff out all the millions of shallow scratches and then the RIDs will remain. And then they’re going to stand out like a sore thumb because there’s nothing camouflaging them.
So let’s go ahead and because I’ve been working on this car and I already know what’s going to take the polish this out, I’m going to go to a foam cutting pad. This is an SDO. It’s a light foam cutting pad. Now we’re just going over everything. I know the answer, but maybe some of those people out there.
Now it’s a good idea to always have your pad centered on this as Oh, gosh, yeah. You know, whatever tool you’re using, especially the rotaries, but no matter what it is, try to do your best to center it up. I didn’t get that perfect. I’ll show you my technique.
What I do is I take my thumb, I hold the pad, and then I bring my thumb and the backing plate together. So now if I’m shaking, at least I’m shaking in unison. And then as I bring this down closer and closer, I can kind of monitor where it’s at and get it really… Really center it up.
It’s just important. And also as your backing plate, you know, a backing plate is a wear item. The backing plate itself wears out, but the hooks, whether they’re mushroom or J hooks or micro hooks, they start to wear out over time and they quit holding the pad on.
And what’ll happen is you’re buffing with one of these tools because they got so much power, that pad will actually walk around on the backing plate, and then all of a sudden the tool will sound like it’s got a flat tire, like it’s womp, womp, womp, womp, starting to really jump around on you. And if you stop and look, you’ll notice the backing plate and the pad are no longer centered. So stop, recenter it, or switch to a dry pad.
Okay, this is the Dr. Beasley’s NSP 150. And let me just, a lot of people new to this live broadcast might not know what this is. This is our version of a compound. And the difference between this and anything else, there’s three pea-sized drops, is everything in here is organic. Nothing is, or inorganic, nothing’s organic. And in our system, after using any of our NSP primers, you can go right to the coating without doing a panel wipe because there’s nothing organic in there to keep the coating from bonding.
Okay. Are you ready? I was born ready. Okay. I’m going to turn this on a slow speed. There’s four. Just to kind of spread this out. And here’s a technique tip. You know, one of my good friends the other day, I saw a video, says, you don’t got to do this. I like to do it because what happens is if you put your product on here and just put it down, all the product because of the weight goes into the foam.
So I have to spread it around a little bit. And when you come up next to a little dauber of product, don’t run the edge into it. Lift the pad, keep it in contact with the paint and grab it. Spread it around. Grab it. Spread it around. Grab it. We’re done. Don’t be the guy that does this in the engine room. Okay, now I’m gonna spin my product out. Okay, now I’ve got a nice uniform way of embracing technology. Here’s center of the hood because here’s the trim piece that shows where center is.
Now I’m going to make, I’m just going to go ahead and make eight section passes. Listen to the tool, watch the tool, we’ll wipe off and inspect the results. That’s two. I don’t like to count these out loud, so I won’t forget from that. I have some people make fun of me for that technique. You know why? However you get the signing, that’s always important to you. That was three, so here’s four. 7, so here’s 8.
With a free spinning tool, you can’t put it down, it will just fall out the path. Now I know some people will say, well Mike, you should put it down there, it’s just a pain hole. I wrote the book on detailing cars, like seven to my name, so I know a little bit about heat. And yeah, you don’t wanna get the paint super hot, but look, buffing it’s gonna get it warm. Okay, so let’s check this out.
But the thing about a gear-driven tool is you can push down, and here’s what that does. It engages the abrasives with the paint and causes them to take little bites out. So for me, a lot of people know my detailing styles, I wanna go as fast as I can to keep my quality high.
and if i can push on that polisher and push those abrasives in it’s going to abrade or level that paint faster than holding a tool there lightly and just letting it kind of flop around the paint so okay Yancy if you can come in and check this out i’m saying give me the light yeah okay so now eight section passes on this incredibly trash paint it look let me see the light it removed everything but most of the reds before.
Oh, I can’t reach because I’m going to lose the camera here. I just don’t know where you need it. Bring it up, up that way. There you go. Okay. Now go across. And there we go. So a huge difference. That’s just the first step. But these deeper rids are still there. And there’s a couple of ways you can attack those rids. Me? Once I polish out this trunk lid, I’m taking a wool pad and a rotary to the rids.
Then I’ll come back with the same process I used to pull the holograms out. You could just add some more product to keep massaging it with a orbital polisher, but rids are random isolated. The key word, deeper. They’re deeper scratches. So it’d probably just be faster to take them out with the rotary.
Now, something else before I switch over there and show the… flex, one of the things I like about a gear driven tool is, look back here, what would you say, is that two inches? About two inches? Two and a half? Okay, with the free spinning tool, if you go up on edge and try to buff out that thin panel, the pad’s gonna stall out, you’re not gonna do anything. So let me show you the technique I teach in my classes.
I’m gonna put some product down here. Now watch this. What I want to do is I want to lubricate the edge of the pad because I’m going to go up on edge and I’m going to knock this panel out. And here’s the benefit to this. Instead of setting this down and go and get a smaller tool with a smaller pad to do this part, I’m going to do the whole car with the tool that’s in my hand.
And a lot of people say, Mike, how do you get cars knocked out so fast? Well, I’m not screwing around changing tools and changing paths. I’m taking the tool that I got and I’m making it dance on paint. Now watch this. I need product on the edge here because I’m going to go up on edge. Now I could do this, take some product and massage it in, but I’m too lazy for that.
So I’m going to do this. Turn the speed down. I’m just going to walk this in slowly. I’m going to make the tool prime itself. Boom. Look at you. You’re so smart. Okay. Now watch how I do this. Usually what I do is I’m going to go up on edge one way and this way I’m going to turn it. I’m going to tilt it. For me, it would be clockwise. And I’m going to knock out basically this portion about the inch away from this chrome trim.
Then I’m going to tilt it this way. I’m going to knock out this part right here next to the edge. And then I’m going to come back at another angle and kind of shmoo the two paths I made over so there’s no marring from this heavy cutting pad. So watch. And notice how I don’t have my hand up on the handle. And the reason for that is because I want to see what that pad’s doing. So I don’t want my arm or my hand in the way.
But notice how I got… There’s speed five right there. No pad stalling. Okay, now I’m going to come this way. and make that thing trail right next to that edge. The guy that owns this car, he wants to take it to a car show. He wants every square inch swirl free. Okay, so now I’ve done this section, this section, now I’m gonna come back and I’m just gonna angle this thing like that. So now I’m going right down the middle. Boom.
And that’s how I turn a six and a half inch pad into a two inch pad. Get the job done so I can move on to the next panel. Here’s another technique. Now that I’ve been working with Dr. Beasley’s products for a lot, like that Dino Ferrari back there just got buffed out with Dr. Beasley’s.
You’re going to get a build up of product just like with any product on any pad. And what I like is a good clean tire detailing brush. I can just come down here and look at it. Just get any of that excess off before I start adding fresh product. So if you’re a Dr. Beasley’s fan, there’s a tip for you.
Get a tire cleaning brush. you know you can do it while it’s running but it actually works just as good just to do it when it’s dead stop that’s how i clean my pads in between sections on a panel okay so let me wipe this off we’ll jump over there and we will check out the and of course i’m going to come back and hit this with the NSP 45 and a foam finishing pad and perfect this paint before i put a strong coating on it okay so over here i’ve already got a flex all powered up I’m gonna put the exact same pad on, centering it.
These are Lake Country. This is actually an HDO. The only thing I don’t like about the HDO is it’s got this stiffer gray portion here. I don’t like to go up on edge. I might dig that into the paint. So I like the SDO for that reason. Okay, NSP 150. These come in 8-ounce and 32-ounce bags, but you can order the Dr. Beasley 14-ounce squeeze bottles and pour them off. It makes everything about buffing out a car quicker, faster, and easier having squeeze bottles. Cord over shoulder, standard protocol. Dab, dab, dab, dab, re-dab.
Okay, now I’m going to press this. And again, when I come up to it, I’m going to tilt and grab that product and sandwich it between the paint and the pad. Gotta spread my product out. Okay, that’s not really buffing. That’s just spreading the product out, but I have a uniform layer of two things, abrasive technology and lubrication. You need both to create beauty.
Now I’m going to do eight standard section passes. Real quick on eight section. I know my good friends in the industry teach doing short cycling, and that is important, and it’s really good for factory thin paint, but this ain’t no factory thin paint job. This is a custom paint job. I got a lot of paint to work with there, and it’s in bad shape. So I’m going to just make eight section passes.
I already know from buffing out the rest of the car, it’s going to only pull out most of the stuff. I still got to come back and pull out the rids. So I could probably go to 10 or 14 if I wanted to. But again, I’m not working on thin factory paint. I’m working on thick custom paint. One. Two. Three. Good trick.
At seven, I want to point out two things. This next pass, I’m going to bring my pressure up because polishing paint is an art form. We bring the human elements of care and passion. It’s not a grinding process. Step one, step two, step three. But the other thing is, is look how big of an area I’m tackling, Yancey. Yeah, I know. It’s freaking huge. Okay.
All these other polishes out there, you know, you got to work a little tiny section to take you forever to do this with a eight millimeter gear driven beast. I mean, you can, the reason I can buff out cars faster than a lot of people is because I can tackle bigger sections because I can push on this, engage the braces with the paint, remove the defects, level the surface and move on to the next step.
Not waste time. Last step. Last, last step. OK. Do you got a light over there? I do have a light over here. And I’ll tell you, this side wasn’t as bad as that side. So I can already tell it looks better. Now, again, I said at the beginning that this is on the soft side of medium. So it will take another step to perfect it. But I think you’ll be able to get the idea here.
There’s eight section passes with the beast. You catching that? OK. Okay, very, very little marring, and most of that is from the pad. Pads have a sharpness to them. Yeah, you’re going to compound, so you still have one more step. Yeah, so, okay. Anyway, all I’m going to do after this is I’m going to take and repolish that using some NSP 45, which I don’t have over here, with a softer foam polishing pad, and then I’m going to go ahead and coat this thing.
Question can the backing interchangeable between the 2 units? Can’t find one for the Hercules. Thanks